You'll discover 7 simple DIY rooftop birdhouses that attract urban birds while keeping them safe and cozy. Start with weather-resistant cedar or pine, cut to 6"x6"x6" dimensions, and add a sloped roof at a 30-degree angle. Don't forget ventilation holes, drainage features, and predator guards. Install your boxes in semi-shaded spots using proper safety gear and sturdy anchor points. Our detailed guide will help you create the perfect avian sanctuary.
Essential Materials and Tools for Your Rooftop Birdhouse

Building a rooftop birdhouse starts with gathering the right materials and tools.
You'll need weather-resistant wood like cedar, cypress, or pine as your primary building material. Don't forget to grab galvanized screws, a drill, and a saw for basic construction. Consider checking construction site dumpsters for usable scrap materials.
For protection against the elements, you'll want silicone caulking and exterior-grade adhesives. A piece of rusty metal roofing adds both character and weather resistance to your project.
Keep safety in mind by wearing work gloves and safety glasses throughout the building process.
You can get creative with decorative elements like vintage nails for perches, small rocks for texture, or even old license plates for unique accents.
Just make sure you've got a reliable caulk or epoxy coating to secure these embellishments against outdoor conditions.
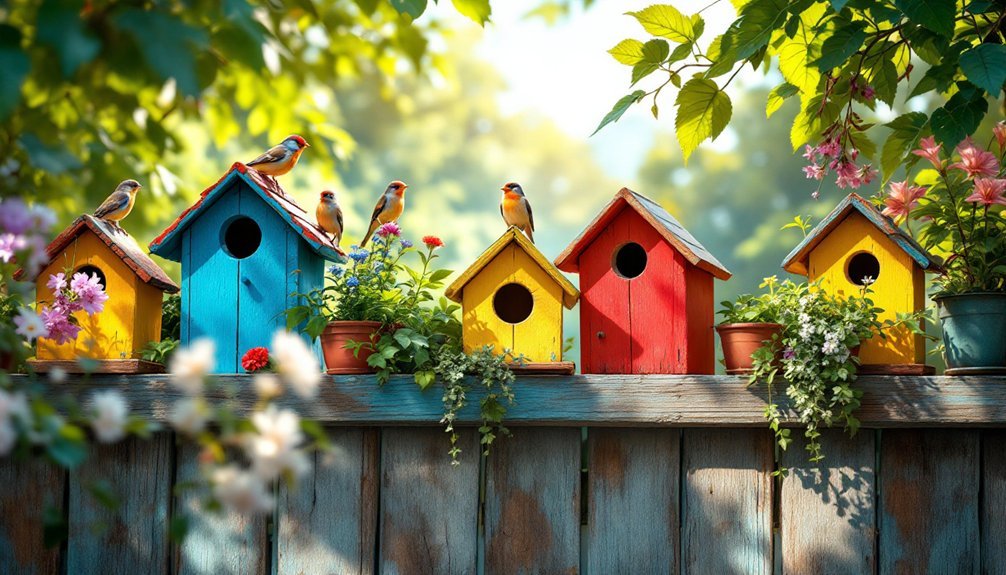
Choosing the Perfect Design for Urban Birds
When designing a rooftop birdhouse for urban areas, you'll need to take into account the unique characteristics of city-dwelling birds. Since urban birds tend to be smaller and prefer nesting above ground, focus on creating appropriately sized boxes with entrances that match your target species.
Choose untreated cedar or pine for your birdhouse, as these materials are both durable and safe. You'll want to include proper ventilation holes and drainage features to prevent moisture buildup.
Select natural woods like cedar or pine, and add ventilation and drainage to create a safe, weather-resistant home for birds.
Make sure to position the box in a sheltered location away from direct sunlight and strong winds. Don't forget to install predator guards to protect the nesting birds. The design should consider that ground-nesting bird species rarely inhabit urban environments.
Remember that urban birds like pigeons, sparrows, and starlings are highly adaptable, so your design should accommodate their need for flexible, elevated nesting spaces while providing protection from city-specific challenges.
Step-By-Step Building Guide With Measurements
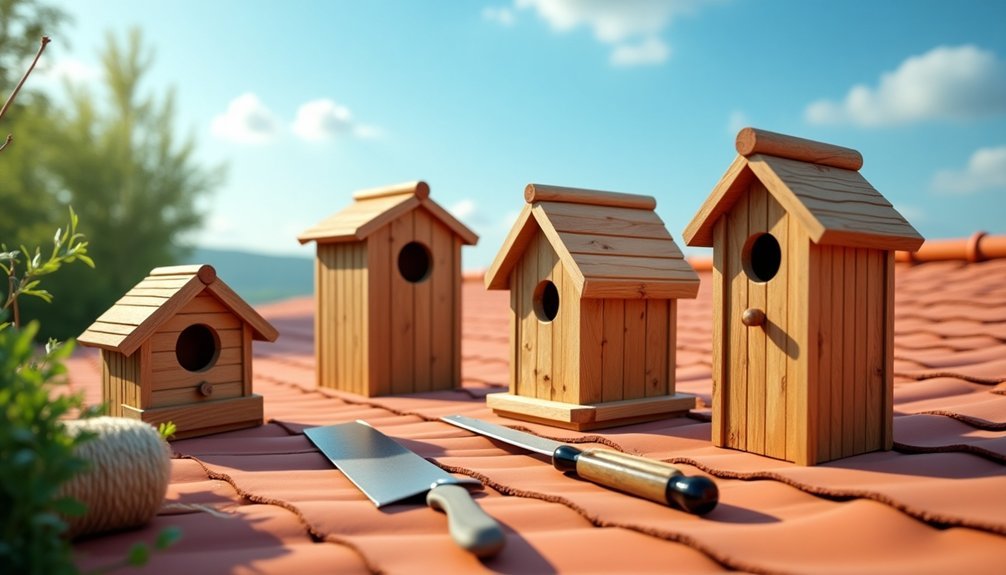
To build an effective rooftop bird box, you'll need untreated wood like pine or cedar, galvanized screws, and basic tools including a miter saw and drill press.
Your box should maintain interior dimensions of approximately 6" x 6" x 6" for small birds, with the roof edges cut at 15-degree angles to prevent water infiltration.
Once you've assembled the main structure using pre-drilled guide holes, you'll want to add essential features like a 1/4-inch recessed floor for drainage, ventilation holes near the roof, and a hinged side panel for easy maintenance. For proper assembly, use Dana Super Hobby Glue to securely bond all wooden components together.
Basic Materials And Tools
Creating a successful rooftop bird box starts with gathering the right materials and tools.
You'll need untreated, sawn timber to guarantee your feathered friends stay safe. Grab 2.5cm nails and self-tapping screws for assembly, along with a reliable hammer and screwdriver.
Don't forget essential tools like a drill with 25mm and 28mm bits for entrance holes, a wood saw for cutting timber, and a tape measure for accurate dimensions. The ideal timber dimensions should be 1.5m x 15cm x 1.25cm for proper construction.
You'll also want sandpaper to smooth any rough edges that could harm the birds. For protection against weather, consider adding roofing felt to the top and weather-resistant paint to the exterior.
Remember to wear safety equipment when using power tools, including safety glasses and work gloves.
Essential Wood Measurements
Now that you've gathered your materials, let's break down the exact measurements needed for your rooftop bird box.
You'll need wood that's at least 15mm thick to prevent warping. For a standard box, cut your main piece to 3 feet long and 6 inches wide.
The interior base should measure at least 100mm x 100mm to give birds enough nesting space. When measuring the roof, make it slightly longer than the base to create an overhang for rain protection – add twice the wood's thickness to the box width for the correct lid length. Using PVA-based wood glue will provide extra strength to all joints.
For the entrance hole, a 32mm diameter works well for most small birds. Position it high enough to protect nestlings from falling out.
Assembly And Installation Tips
Once you've cut your wood pieces to size, assembling your bird box requires careful attention to detail and the right sequence of steps.
The project should take just over half a day to complete with basic tools and materials.
Start by attaching the back panel to the base, using waterproof glue and rust-resistant screws. Next, secure the side panels, followed by the front piece containing your pre-drilled entrance hole.
Before adding the roof, drill ventilation holes near the top and drainage holes in the base. The roof should overhang slightly to protect from rain – attach it using hinges for easy cleaning access.
Apply a weather-resistant coating to all exterior surfaces, but avoid treating the entrance hole area.
Mount your box 6-10 feet high on a north or east-facing wall, using sturdy fixings. Install a predator baffle below if needed, and guarantee the box tilts slightly forward for additional rain protection.
Weather-Proofing Your Rooftop Bird Box
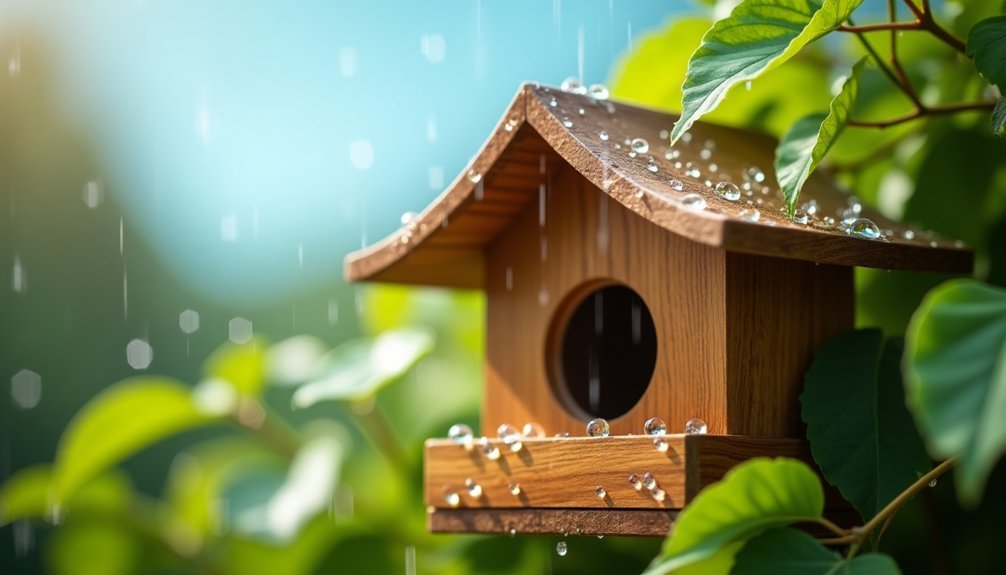
Weather-proofing your rooftop bird box requires careful attention to both materials and design to guarantee your feathered visitors stay dry and comfortable throughout the year.
Start by selecting naturally water-resistant woods like cedar or cypress, with panels at least 1/4-inch thick. You'll want to create a sloped roof at a minimum 30-degree angle and add protective overhangs.
Choose durable cedar or cypress wood and create angled roofing to ensure your bird box stands up to the elements.
Don't forget to drill ventilation holes and add drip kerfs under the roof to direct water away. Seal all seams with silicone caulk or metal tape, and consider treating the exterior with natural sealants like raw linseed oil. Using semi-transparent oil-based stains provides superior protection and longevity compared to varnish.
For extra protection, install a rear drip rail to combat wind-driven rain. Remember to position your box in a semi-shaded area and inspect it regularly for signs of moisture damage.
Safe Installation Tips for High Places
You'll need to carefully plan your rooftop access route and required height clearances before attempting any bird box installation at elevation.
Essential safety gear, including a sturdy harness, non-slip boots, and a tool belt, will keep you secure while working on pitched surfaces.
Make sure to identify and test strong anchor points on your roof's structure that can support both the mounting hardware and the weight of visiting birds. Consider installing on a mounting pole instead of directly on the roof structure, as this provides better protection for the birds.
Height Access Planning Guide
Before climbing any ladder to install rooftop birdhouses, a thorough safety assessment and preparation plan is essential.
You'll need to position your ladder at a 75-degree angle on firm, level ground, maintaining a 1:4 ratio of ladder distance from the wall to height.
Don't risk installation during poor weather conditions. Use binoculars to scout potential mounting locations from ground level first, and check that your chosen spot has adequate structural support. The installation should take about twenty minutes to complete once you're safely positioned.
You'll want to secure your ladder to the building when possible, especially in high or windy locations.
Keep your tools and equipment within specified weight limits, and establish clear access lanes without obstacles.
Remember to set up safety zones around your work area and consider using anchor points for additional security during installation.
Essential Safety Equipment Needed
Safety gear serves as your first line of defense when installing rooftop birdhouses.
You'll need a sturdy helmet to protect against falling debris and a reliable rope system to secure yourself while working at heights.
Don't forget to attach ladder safety devices to prevent slipping during your climb.
Keep a well-stocked first aid kit nearby for treating minor injuries.
You'll also want safety nets to catch any tools or materials that might fall during installation.
When working on steep roofs, you'll need additional anchor points for your rope system to guarantee maximum stability.
Remember to inspect all safety equipment before each use and replace any worn or damaged items immediately.
Never compromise on safety gear – it's your protection against potential accidents while creating homes for your feathered friends.
Always use safety goggles and gloves when cutting or sanding wood pieces for your birdhouse project.
Secure Anchor Points Matter
While installing rooftop birdhouses requires various safety measures, secure anchor points serve as the foundation of your fall protection system.
You'll need to choose between fixed or mobile anchors based on your roof type and pitch. For permanent installations, steel or aluminum anchors offer durability, while weighted mobile anchors work well when you don't want to penetrate the roof surface.
Before mounting your birdhouse, verify your anchor point can support the required weight and meets safety standards.
If you're unsure about installation, it's best to consult professionals who can properly assess your roof's structure. They'll help determine the most suitable anchor type and placement, particularly when dealing with obstacles like vents or pipes.
Remember to regularly inspect your anchor points to maintain their effectiveness over time.
Attracting Different Bird Species to Your Box
Successfully attracting birds to your rooftop boxes depends largely on understanding the specific needs of different species.
Creating a bird-friendly rooftop habitat starts with knowing what each species needs to thrive and feel secure.
You'll need to take into account both the box design and surrounding environment to create an inviting habitat.
For cavity nesters like bluebirds and wrens, make certain your box has the right-sized entrance hole – smaller openings will help deter invasive starlings and sparrows.
If you're hoping to attract social nesters like purple martins, install multiple boxes or compartmentalized housing.
Don't forget to provide appropriate nesting materials nearby, such as twigs, grass, and leaves.
Create a welcoming environment by adding native plants on your roof or balcony for shelter and food.
Think about installing a small birdbath or feeder, but place these features at a distance from the nest boxes to minimize competition.
Seasonal Care and Maintenance Schedule
Maintaining your rooftop bird boxes throughout the year will maximize their effectiveness and longevity.
You'll need to adapt your care routine to each season's unique challenges. In winter, remove old nests and open the front to prevent rodents from settling in.
Spring calls for a thorough cleaning and predator guard inspection before the breeding season begins.
Essential year-round tasks include:
- Checking entrance holes for damage and installing metal plates if needed
- Clearing ventilation and drainage holes to prevent moisture buildup
- Monitoring for signs of predator activity or intrusion
- Inspecting hardware and structural integrity every season
During summer, guarantee proper ventilation to prevent overheating.
Frequently Asked Questions
How Do I Stop Squirrels From Taking Over My Rooftop Birdhouse?
You'll need to install metal flashing around the entrance hole, mount a squirrel baffle on the pole, and keep your birdhouse 10 feet from structures squirrels can jump from. Add a predator guard too.
Can I Paint Designs on the Outside of My Birdhouse?
Yes, you can paint designs on your birdhouse using non-toxic acrylic or latex paint. Choose earth-toned colors and avoid painting near entrance holes. Don't forget to seal your artwork for weather protection.
Should I Remove Old Nests Between Breeding Seasons?
Yes, you should remove old nests after breeding season. It's healthier for birds since old nests can harbor parasites and bacteria. Be sure to wear protective gear and clean the area thoroughly afterwards.
Will City Noise Affect Birds' Willingness to Use My Rooftop Box?
Yes, city noise can affect birds' use of your box, but you'll still attract birds if you place it in a quieter spot away from traffic and mechanical noise sources like AC units.
How Many Birdhouses Can I Safely Install on One Rooftop?
You'll want to space your birdhouses at least 50 feet apart. For an average rooftop, 2-3 boxes is ideal. If you're targeting social birds like swallows, you can place them closer together.
In Summary
You'll find that building rooftop bird boxes isn't just rewarding – it's a practical way to support urban wildlife. With these seven DIY designs, you've got everything needed to create safe havens for local birds. Remember to check your boxes seasonally, maintain them properly, and you'll soon have feathered neighbors making themselves at home in your handcrafted rooftop sanctuaries.


Leave a Reply