
You'll need a 4×8 sheet of plywood, exterior-grade hardware, and basic tools like a table saw and drill to build your rooftop owl box. Start by cutting the pieces according to your target owl species' size requirements, then assemble using weatherproof screws and sealant. Mount the box securely using galvanized brackets and guarantee proper safety equipment, including a harness and hard hat. Follow our detailed steps to create a lasting sanctuary that local owls will call home.
Essential Materials and Tools for Your Owl Box Project
A well-equipped workshop forms the foundation of any successful owl box project. You'll need a 4×8 sheet of 15/32-inch or 3/4-inch plywood, along with cypress, cedar, or pine boards for your preferred design. The box's simple design allows predator protection while providing a secure nesting space.
Don't forget exterior-grade hinges and outdoor-suitable nails and screws, plus wood glue for sturdy assembly.
Your essential tool kit should include a saw (table or circular), drill with various bits, and a jigsaw for precision cuts. You'll also want a sander or sanding block to guarantee smooth surfaces.
For installation, gather 2×2 lumber for mounting, metal brackets, and galvanized hinges. Consider safety equipment like a harness if you're working at height, and keep a level handy to ascertain proper positioning.
Optional items include exterior varnish and specialized bits for detailed finishing work.
Planning Your Owl Box Design and Dimensions
Successful owl box construction begins with precise planning of dimensions tailored to your target species. You'll need to match the box size and entrance hole to the owl type you're hoping to attract to your rooftop. The back panel dimensions for most owl boxes range between 22-40 inches in length to provide adequate interior space.
| Feature | Specification |
|---|---|
| Entrance Hole | 6" for Barn Owls, 4" for Screech Owls |
| Floor Area | Minimum 0.16m², ideal 1m² for Barn Owls |
| Box Depth | At least 450mm from entrance to floor |
| Height Placement | Minimum 15 feet from ground |
When designing your box, include essential features like a sloped roof for rain runoff, drainage holes in the floor, and strategic ventilation openings. Don't forget to incorporate a hinged door for easy maintenance and cleaning. Position the entrance hole facing east or north to prevent overheating, and consider adding a predator guard for extra protection.
Step-by-Step Assembly Instructions
You'll need to round up basic carpentry tools and weather-resistant materials before starting your owl box construction.
After carefully measuring and cutting your plywood pieces according to plan, join them together using pre-drilled holes and weatherproof screws to create the main structure.
Once assembled, you'll seal all joints with weatherproof caulk and add a protective finish to shield your owl box from the elements. Mount the box in a thinly wooded area to provide owls with their preferred habitat environment.
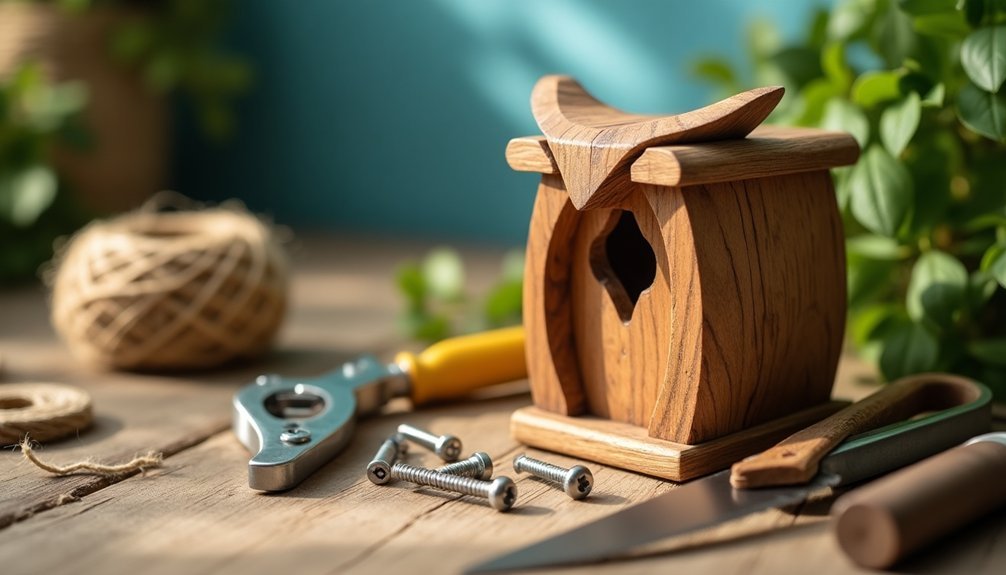
Gather Tools and Materials
Before diving into construction, gathering the right tools and materials guarantees a smooth owl box assembly process.
You'll need either a table saw, circular saw, or jigsaw for cutting your wood, plus a drill with 3/8-inch bits for ventilation holes. Select rot-resistant materials like 3/4-inch exterior plywood or cedar fence pickets for durability.
For assembly, gather rust-resistant screws, galvanized hinges, wood glue, and square bend screw hooks. Your plywood must use waterproof adhesive to ensure long-term durability.
Don't forget your sanding equipment and essential safety gear. You'll also need exterior varnish for weatherproofing the outside, but leave the interior unfinished.
Remember to pick up plywood brackets for mounting support and make sure you have basic tools like a level and measuring tape.
If you're working alone, arrange for a helper during installation.
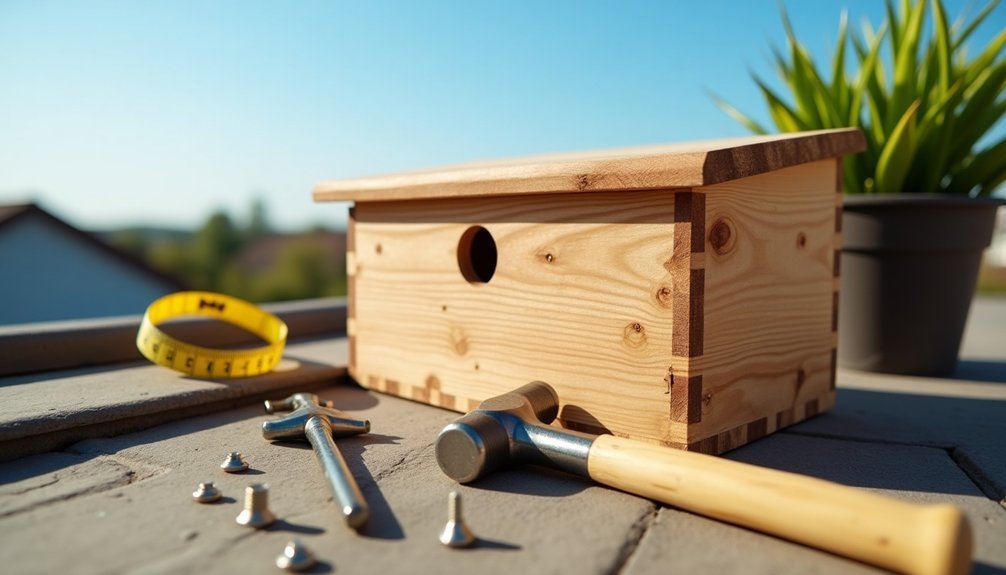
Cut and Join Pieces
Building your owl box begins with five precise cuts that form the basic structure. Using your saw, cut the cypress board or plywood to create a 15-22 inch front piece, 27.5-32 inch back panel, and an 8×8 inch floor. Cut two side panels between 16-32 inches long to complete the main structure.
Next, drill a 3-inch diameter entrance hole in the front piece, adding kerf cuts beneath it for better grip. Join the pieces using wood glue and nails, ensuring even spacing of screws for stability.
Add corner studs for extra support, and secure the floor with additional screws. Don't forget to create a small landing ledge below the entrance hole – it's essential for your future owl residents. When positioning your completed box, aim for an easterly direction to maximize the chances of attracting owls to your structure.
Seal and Finish Box
Once the basic structure is assembled, proper sealing and finishing transforms your owl box into a weather-resistant sanctuary.
Apply a generous bead of all-weather sealant along both sides of every vertical joint, keeping the edges smooth. The pressure-treated plywood ensures maximum durability against harsh weather conditions. Cover the hinged roof with thick roofing felt, securing it with galvanized nails into the battens only, and fold under the edges for complete protection.
- Carve essential kerf cuts below the entrance hole to help owlets grip and guarantee proper ventilation.
- Add untreated wood chips inside to create a cozy nesting environment.
- File down any protruding screws or sharp edges that could harm your feathered residents.
- Apply a coat of light-colored exterior varnish to the outside only, leaving the interior natural and safe.
Remember to check that all joints are properly sealed, as barn owl debris is highly absorbent.
Safe Rooftop Installation Methods
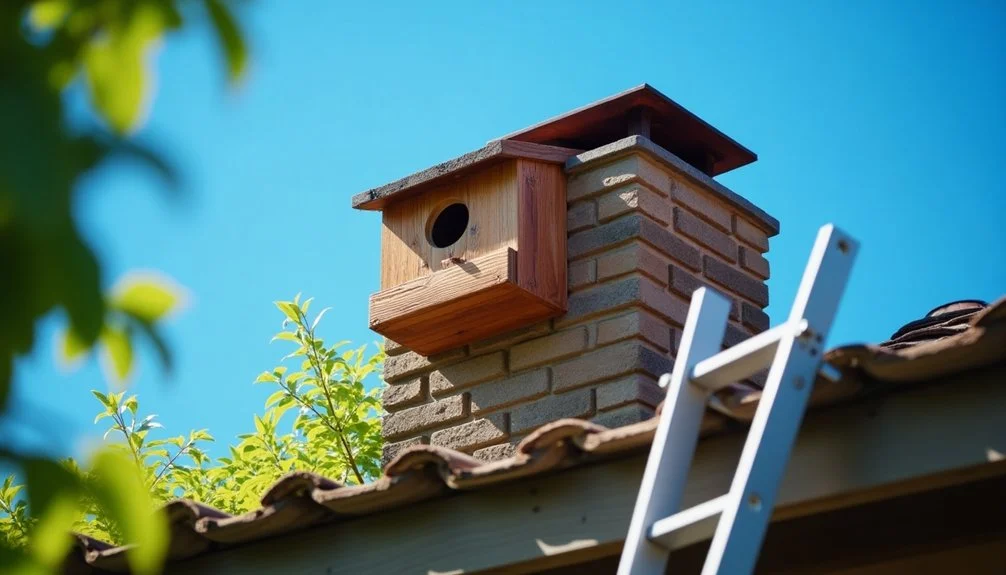
Before you start climbing, you'll need to set up your ladder at a 75-degree angle on level ground and secure it with stabilizing straps to prevent shifting.
Essential safety equipment includes a fall protection harness, non-slip boots, and a tool belt to keep your hands free while working at height. Since barn owl populations are declining due to habitat loss, proper installation of nest boxes is crucial for their survival.
When installing mounting brackets, start by marking your drill points on the roof surface, then secure each bracket with weatherproof bolts while maintaining proper spacing for your owl box's dimensions.
Secure Ladder Placement Tips
Safe ladder placement requires three essential steps that protect you during owl box installation.
First, locate a stable, level surface away from power lines and set your ladder at a 75-degree angle.
Second, secure both the top and bottom of your ladder using appropriate anchoring methods like roof hooks and non-slip pads.
Third, verify you've installed stabilizer bars to prevent any sideways movement. Using a Type I rated ladder ensures it can safely support up to 250 pounds during your installation work.
- Never rush your ladder setup – your life depends on these vital safety steps
- Double-check for hidden electrical hazards that could spell disaster
- Trust your instincts – if something feels unsafe, it probably is
- Remember, you're creating a home for owls – it's worth taking extra precautions
Always maintain three-point contact while climbing and use a tool belt to keep your hands free for stability.
Proper Safety Equipment Needed
While installing an owl box requires careful planning, having the right safety equipment is absolutely crucial for rooftop work. You'll need a fall protection system with a secure harness and anchor points. Don't forget your basic PPE: a hard hat, safety glasses, non-slip boots, and work gloves. OSHA requires employers to maintain regular safety training to ensure proper equipment usage.
| Equipment Type | Purpose | Must-Have Items |
|---|---|---|
| Fall Protection | Prevents falls | Harness, anchor points, safety nets |
| Personal Safety | Protects body | Hard hat, glasses, gloves, boots |
| Weather Gear | Guards against elements | Sun protection, weather-appropriate clothing |
| Emergency Items | Quick response | First aid kit, emergency contact info |
Before climbing up, inspect all your equipment thoroughly. Check that your harness is properly fitted and your anchor points are secure. Keep emergency contacts handy and verify you've got a clear path to access all work areas.
Mounting Bracket Installation Steps
With your safety equipment properly secured, mounting bracket installation marks the start of your owl box project. Select a spot on your rooftop that's level, structurally sound, and free from water accumulation. Your mounting brackets should be galvanized steel, specifically designed for owl boxes, guaranteeing long-term durability against the elements. Ensure you maintain a five-foot radius of clear space around the planned box location.
- Position your bracket to evenly distribute weight, avoiding areas with direct sunlight exposure.
- Pre-drill holes following manufacturer's guidelines, guaranteeing precise alignment.
- Secure the bracket using appropriate fasteners, checking for stability as you work.
- Test the installation by applying gentle pressure in different directions.
Remember to maintain proper leveling throughout the process and add extra fasteners if needed. Regular stability checks will help guarantee your owl box remains secure for years to come.
Weatherproofing and Protection Measures
Proper weatherproofing and protection measures make the difference between a long-lasting owl box and one that quickly deteriorates. You'll need to apply several protective layers to guarantee your owl box withstands harsh weather conditions.
| Material | Purpose | Lifespan |
|---|---|---|
| Heavy-duty roofing felt | Top protection | 10+ years |
| Waterproof adhesive | Prevent delamination | Permanent |
| Exterior varnish/paint | UV protection | 5-7 years |
| Metal flashing | Water deflection | 15+ years |
Start by covering the roof with heavy-duty felt, securing it with waterproof adhesive. Install metal flashing along the roof's edge to direct water away from the box. Don't forget to drill 1/2-inch ventilation holes for proper airflow. Apply exterior varnish or light-colored paint to all outside surfaces, guaranteeing you've sealed every joint and seam. Create overhangs on the roof and sides to provide additional protection against rain and debris.
Owl Box Maintenance Schedule and Tips
To maintain a healthy owl habitat, you'll need to follow a consistent maintenance schedule that prioritizes both the owls' wellbeing and the box's longevity.
October is the ideal time for your annual cleaning, though mid-winter works too if you've missed the fall window. During maintenance, remove debris, check for damage, and address any pest issues while wearing protective gear.
- Don't wait until it's too late – a neglected box can drive owls away forever
- Your careful timing protects vulnerable owlets during nesting season
- You're creating a safe haven that could shelter generations of owls
- Your diligent maintenance directly contributes to local wildlife conservation
Remember to document your maintenance activities and always clean on calm, dry days to guarantee the owls' safety during the process.
Creating an Owl-Friendly Environment
Successful owl habitats depend on more than just a well-built box – they require a thoughtfully designed environment that supports these magnificent birds' natural behaviors.
Creating a welcoming owl habitat requires careful planning beyond just building homes – it's about crafting an environment where these birds can thrive naturally.
You'll need to reduce outdoor lighting to help owls hunt effectively at night.
Plant native evergreens like spruce or pine trees to provide safe daytime roosting spots. If it's safe to do so, preserve dead tree snags on your property as natural shelters.
Create a diverse ecosystem by leaving sections of your yard untamed, which will attract the small mammals and insects that owls hunt.
Don't forget to install a large, deep bird bath for drinking water.
Keep the area as quiet as possible since owls are sensitive to noise disturbances.
These simple environmental modifications will greatly increase your chances of attracting and keeping owls in your yard.
Frequently Asked Questions
How Long Does It Typically Take for Owls to Start Using My Box?
You'll find owls may start investigating your box within days, but full occupation typically takes a few weeks to months. Don't get discouraged – timing varies based on season and local conditions.
Will Installing an Owl Box Affect My Home Insurance Coverage?
Your standard homeowner's insurance typically won't be affected by an owl box, but you should check your policy and inform your insurer. Confirm proper installation to avoid any liability issues from structural damage.
Can Multiple Owl Families Use the Same Box Simultaneously?
No, you can't have multiple owl families in one box. They're designed for a single breeding pair, and owls don't share nesting spaces. The limited interior space and entrance hole only accommodate one family.
Do Owls Return to the Same Box Year After Year?
Yes, you'll often find owls return to the same box year after year if it's proven successful for nesting. They're creatures of habit and will keep coming back when they've found a safe, reliable home.
Should I Remove Wasp Nests if They Appear in the Owl Box?
You'll want to remove wasp nests only if they're active in spring before owls return. During fall and winter, the nests will naturally become inactive, and wasps won't compete with nesting owls.
In Summary
You've now got everything you need to install your own rooftop owl box. Remember to check your installation annually before nesting season, clear out old nesting materials, and maintain the weatherproofing. Don't be discouraged if owls don't move in immediately – it can take several months for them to discover and accept a new home. Your patience will be rewarded with natural pest control and fascinating wildlife viewing opportunities.


Leave a Reply