To mount a birdhouse on your roof, you'll need to select weather-resistant materials like cedar or pine and choose a spot protected from strong winds. Start by cleaning the mounting area and gathering essential tools, including galvanized screws and safety gear. Install the house 5-12 feet high, facing away from prevailing winds, and add predator guards for protection. Don't forget regular maintenance checks. These vital steps will guarantee your feathered friends have a safe, long-lasting home.
Selecting the Perfect Birdhouse for Your Roof
When choosing a birdhouse for your roof, you'll need to contemplate both the specific needs of local cavity-nesting birds and the durability requirements for outdoor installation.
Select weather-resistant materials like cedar or pine, and guarantee the design includes a sloped, overhanging roof to protect against rain and snow.
Your birdhouse should feature proper drainage holes and ventilation near the top for peak air circulation.
Proper ventilation and drainage in birdhouses ensure healthy airflow and prevent moisture buildup, creating a safer environment for nesting birds.
Match the entrance hole size to your target species – 1.5 inches for bluebirds and sparrows, or 1.25 inches for chickadees.
Don't add perches, as they'll only help predators access the nest.
Look for designs with easy-access panels for maintenance, and consider aesthetic elements like copper roofing that can complement your home while providing extra durability. Position your birdhouse at at least 5 feet above the roof surface to protect nesting birds from predators.
Choosing the Ideal Mounting Location
Although mounting a birdhouse on your roof may seem straightforward, selecting the ideal location requires careful consideration of multiple factors.
Since standard birdhouses aren't designed for roof mounting, you'll need to guarantee your installation won't damage roofing materials or create maintenance issues.
Choose a spot that protects birds from strong winds and rain while providing partial sunlight for temperature regulation.
You'll want to keep the entrance hole facing away from prevailing winds and position the house at a safe distance from potential hazards like power lines or BBQ areas.
If you're mounting under the eaves, be aware this might attract unwanted birds.
Consider installing baffles or other predator deterrents to protect nesting birds, and guarantee the mounting location allows easy access for regular cleaning and maintenance.
Install the birdhouse at least five feet above ground to prevent access from ground-based predators.
Gathering Essential Tools and Materials
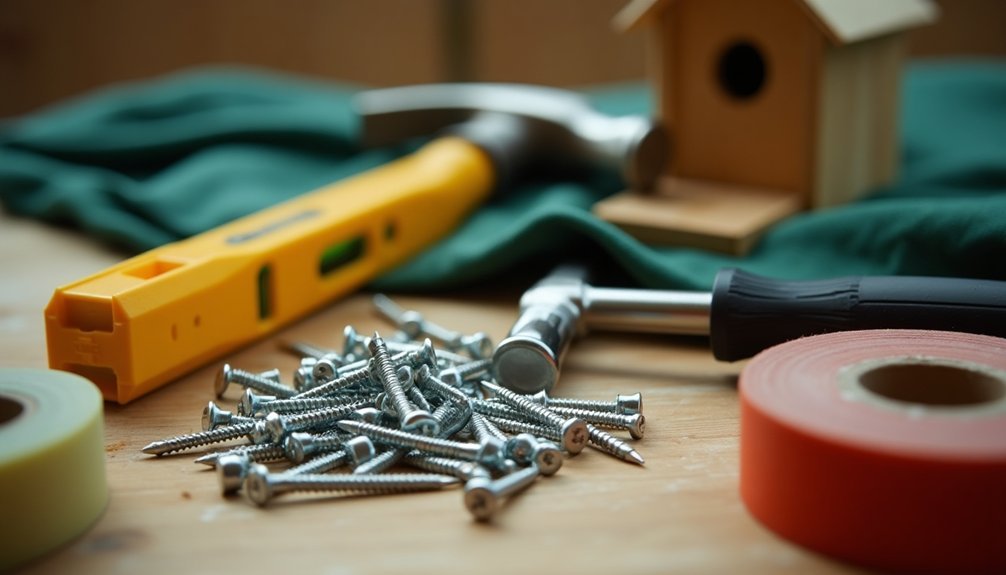
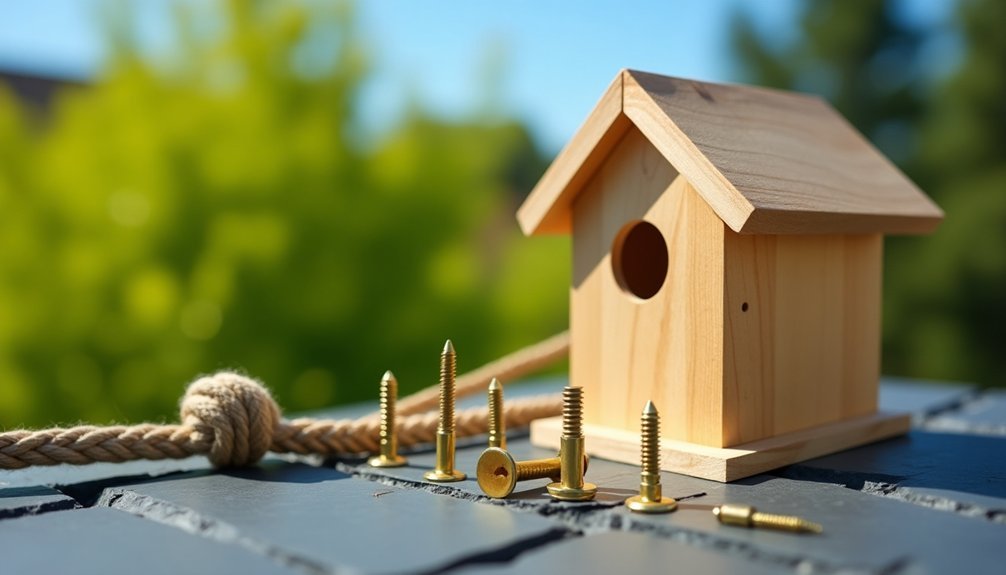
Successful birdhouse mounting requires three essential categories of supplies: mounting materials, tools, and safety equipment.
You'll need weather-resistant screws, brackets, and possibly rooftop adhesive or copper flashing for waterproofing. Don't forget a sturdy wire or twine for backup support. The Scotch Extreme Fasteners provide an innovative solution for easy removal and maintenance access.
For a safe and efficient installation, gather these critical items:
- A drill/driver and impact driver for secure fastening
- Basic hand tools including pliers and a level
- Safety gear like a hard hat, work gloves, and safety glasses
- A reliable ladder with a stabilizer attachment
Remember to match your mounting materials to your specific roof type. Metal roofs need specialized screws, while clay or slate roofs might require adhesive solutions.
Having all supplies ready before starting will guarantee a smooth installation process.
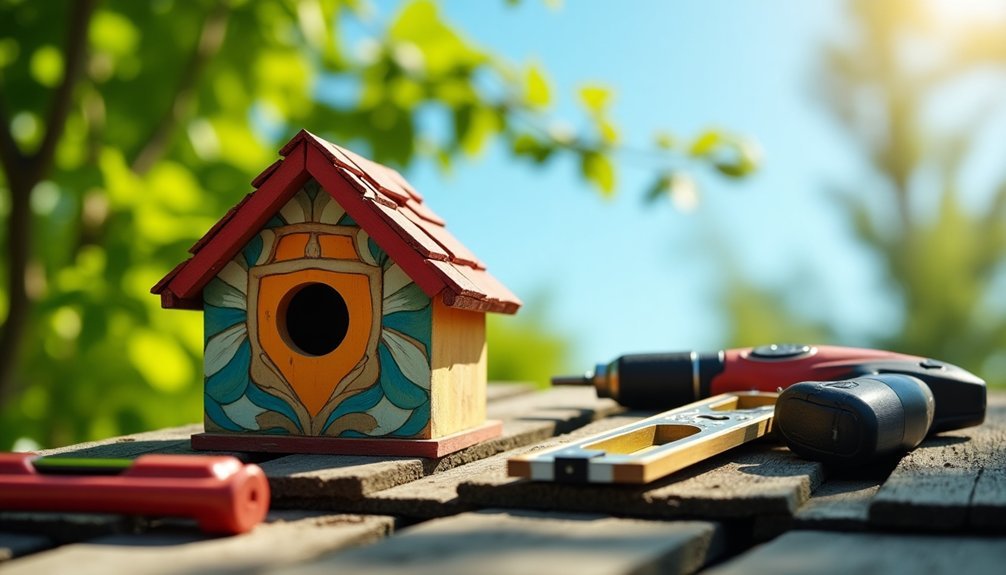
Preparing Your Roof Surface
A properly prepared roof surface serves as the foundation for a secure birdhouse installation. Before mounting your birdhouse, you'll need to thoroughly clean the area where you plan to attach it.
Start by using a brush or broom to sweep away loose debris and leaves. For stubborn dirt, you can use a low-pressure washer, but avoid harsh chemicals that might damage your roofing materials.
Once you've cleared the debris, rinse the area thoroughly to remove any remaining dirt or soap residue. While cleaning, inspect the surface for any signs of damage or weakness that could compromise the installation.
Make certain you're working on a stable section of the roof that's away from chimneys, vents, and gutters. Consider adding natural moss layers around the mounting area to help the birdhouse blend seamlessly with its surroundings. This preparation will help guarantee your birdhouse remains secure and safe for its future residents.
Securing the Birdhouse Mount
With your roof surface properly cleaned and inspected, selecting the right mounting materials becomes your next priority.
You'll need galvanized or stainless steel screws, weather-resistant adhesives, and sturdy wire to guarantee your birdhouse stays secure against outdoor elements. When installing, ensure the birdhouse includes side vents for proper airflow.
Choose mounting hardware that's specifically designed for your roof type and the weight of your birdhouse.
To properly secure the mount, you'll want to:
- Use screws rather than nails for easier future maintenance
- Create a tight seal around mounting points to prevent water seepage
- Position the mount 5-12 feet above ground level
- Install the entrance hole facing away from prevailing winds
Remember to check that all fasteners are properly tightened and weatherproofed.
Your mounting structure should be rigid enough to prevent any swaying, especially during strong winds.
Installing Protective Features
You'll need to shield your roof-mounted birdhouse against both weather and predators to guarantee safe nesting conditions.
Installing metal baffles and hardware cloth around the mounting area prevents raccoons, squirrels, and snakes from accessing the nest, while a properly angled roof overhang with sealed joints keeps rain from seeping inside.
Strategic placement of ventilation holes near the top and drainage holes in the floor maintains ideal airflow and prevents water accumulation, creating a secure environment for your feathered visitors. Ensuring the birdhouse walls are made of untreated wood materials helps maintain safe, non-toxic conditions for nesting birds.
Weatherproofing Your Birdhouse Setup
Because harsh weather conditions can quickly deteriorate a birdhouse, proper weatherproofing is crucial for its longevity and the safety of its occupants.
Start by selecting durable woods like Cedar or Cypress, and seal all joints with non-toxic glue. Apply raw linseed oil or clear lacquer to protect the exterior while keeping it safe for birds. Regular inspection and semi-transparent stains will help maintain the birdhouse's protective qualities over time.
For maximum protection, you'll want to:
- Install a pitched roof with at least a 30˚ angle and protective overhang
- Add drainage holes in the floor to prevent water accumulation
- Apply waterproof tape to roof seams and guarantee proper ventilation
- Position the entrance away from prevailing winds and rain
Mount your birdhouse under eaves or in sheltered spots at least 5 feet above ground, using sturdy poles or branches for secure installation.
Guards Against Common Predators
Even the most weatherproof birdhouse needs protection from local wildlife that might harm its feathered residents.
You'll want to install predator guards that match your specific threats – baffles for climbing animals, entrance guards for raccoons and cats, and wire mesh for larger predators.
For roof-mounted houses, focus on entrance protection using a Noel Guard or heavy-duty wire mesh around the opening.
These guards prevent predators from reaching into the nest box while allowing birds to enter freely. A proper setup should include both a snake baffle and raccoon guard for maximum protection.
Mount your guards securely using durable materials like metal or strong PVC, and check them regularly for wear and tear.
While no guard system is perfect, you'll increase nest success rates considerably by implementing these protective measures.
Remember to adapt your guard choices based on local predator species and the types of birds you're attracting.
Setting Up a Maintenance Schedule
Maintaining a birdhouse properly requires a consistent schedule that aligns with the natural nesting cycles of your feathered visitors.
You'll need to perform thorough cleanings at least twice a year – once after the nesting season ends and again before spring begins. During these maintenance sessions, you should inspect for wear, damage, and potential hazards. Shine a flashlight inside to check the birdhouse for any eggs or nesting chicks before cleaning.
- Check mounting hardware and structural integrity every three months
- Clean and disinfect the interior before each nesting season using bird-safe products
- Inspect ventilation and drainage holes monthly during active nesting periods
- Monitor for pest infestations weekly, especially during warm months
Don't forget to adjust your maintenance schedule based on your local climate and weather patterns.
In areas with severe weather, you might need more frequent inspections to guarantee your birdhouse remains secure and safe.
Frequently Asked Questions
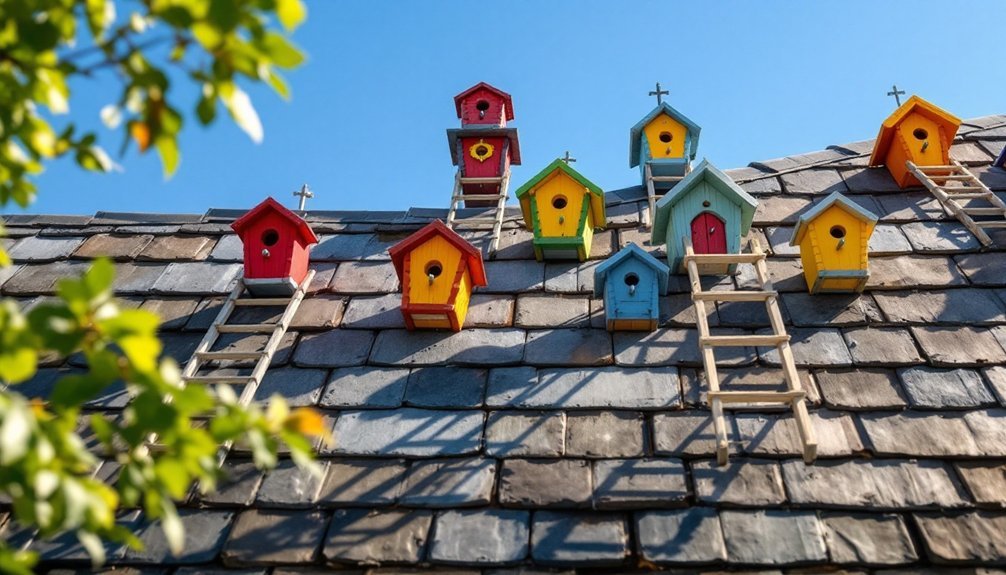
How Far Apart Should Multiple Birdhouses Be Placed on the Same Roof?
You'll need to space your birdhouses at least 10 feet apart to prevent territorial conflicts. If you're attracting larger birds or more territorial species, you should increase the distance to 20-25 feet.
Can Birdhouses Attract Unwanted Pests Like Wasps or Hornets?
Yes, your birdhouses can attract wasps and hornets seeking nesting sites. You'll need to use proper design features, regular maintenance, and natural deterrents like soap to minimize unwanted pest activity in your birdhouses.
Will Mounting Birdhouses Void My Roof Warranty?
You'll need to check your specific warranty terms, as some providers consider birdhouse installations a modification. It's best to contact your warranty provider directly before mounting anything to avoid potential issues.
Should Birdhouses Be Removed During Extreme Weather Conditions or Winter?
You don't need to remove birdhouses during winter or extreme weather. Instead, make certain they're properly secured and weatherproofed. They can provide essential shelter for non-migratory birds during harsh conditions.
How Do Different Roofing Materials Affect the Temperature Inside Birdhouses?
You'll find that asphalt shingles increase birdhouse temperatures, while metal roofs reflect heat to keep them cooler. Tile provides stable temperatures, and wood shakes offer natural insulation but need good ventilation.
In Summary
Following these seven steps will guarantee you've mounted your birdhouse securely and safely to your roof. Don't forget to check the mount regularly, especially after storms, and clean the birdhouse each season. With proper installation and maintenance, you'll create a welcoming home for local birds while protecting your roof's integrity. Soon you'll enjoy watching your feathered friends make themselves at home.


Leave a Reply