
To create a perfect balcony bird photography setup, position feeders strategically with natural perches at varying heights. Install native plants for attractive backgrounds and bird attraction. Use weather-sealed camera equipment with a telephoto lens (400mm+) mounted on a stable tripod. Manage reflections with polarizing filters and proper angles if shooting through glass. Create a comfortable, concealed shooting position with good sightlines. Control lighting with screens or diffusers. These seven elements will transform your balcony into a wildlife photographer’s haven.
7 Balcony Bird Photography Setup
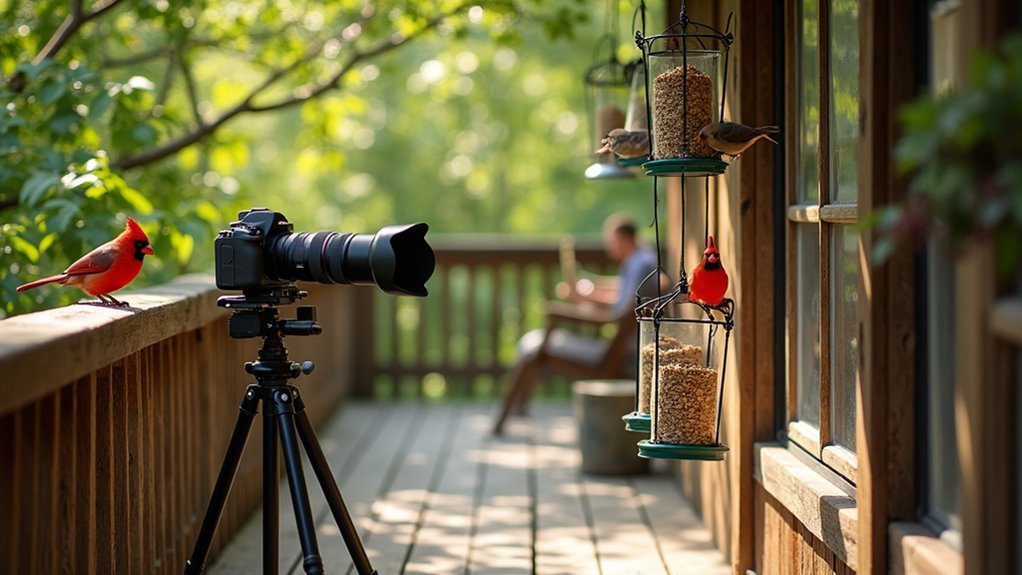
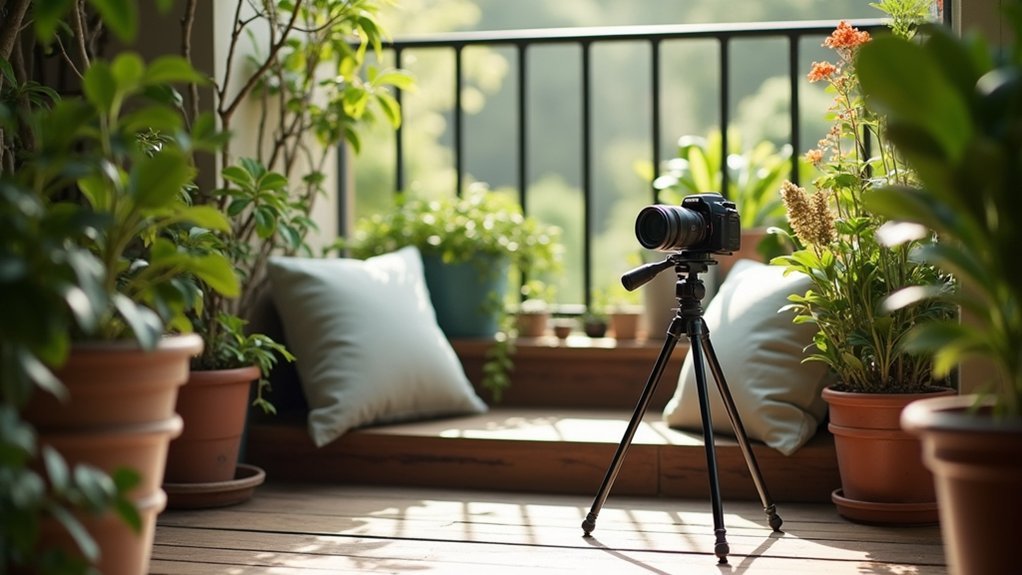
While many photographers believe wildlife photography requires venturing into remote locations, your own balcony can serve as a perfect bird photography studio with the right setup.
Creating an attractive environment with strategically placed feeders, water sources, and natural perches will draw birds within range of your camera.
Position feeders where you’ll have unobstructed views and good light, particularly during golden hours when birds are most active.
Strategic feeder placement during golden hours creates magical lighting for dramatic bird portraits without leaving home.
Use wildlife lenses with focal lengths of 400mm or longer to capture detailed images without disturbing your subjects.
Adjust your ISO settings according to lighting conditions—higher in shade, lower in bright sunlight.
Minimize background distractions by arranging perches against clean backdrops.
Adding colorful native plants not only attracts more birds but creates visually appealing compositions that elevate your bird photography beyond simple documentation.
Creating an Attractive Feeding Station With Strategic Perches
Position your perches at varying distances and heights from feeders to create natural-looking staging areas where birds will pause before approaching food.
You’ll want to incorporate branches, driftwood, or ornamental garden elements that complement your balcony’s aesthetic while providing birds comfortable landing spots.
These thoughtfully placed perches not only attract more birds but also help you create photographs with natural-looking compositions against whatever backdrop your balcony environment offers.
Strategic Perch Placement
Creating an attractive feeding station requires thoughtful perch placement to transform your balcony into a bird photographer’s paradise. Position elevated perches using tall branches or stakes above surrounding barriers to enhance visibility and create dynamic backdrops for your photos.
Incorporate multiple feeding stations with different food types to attract a diverse range of species. Natural materials like logs and decorative branches offer an authentic setting while providing comfortable landing spots for your feathered visitors.
Always place perches near food sources but include open areas nearby so birds feel safe while feeding. This reduces the likelihood of startling them during their visit.
Remember to regularly rotate the placement of both feeders and perches to keep birds engaged and exploring different areas of your balcony for ideal photography opportunities.
Natural Backdrop Solutions
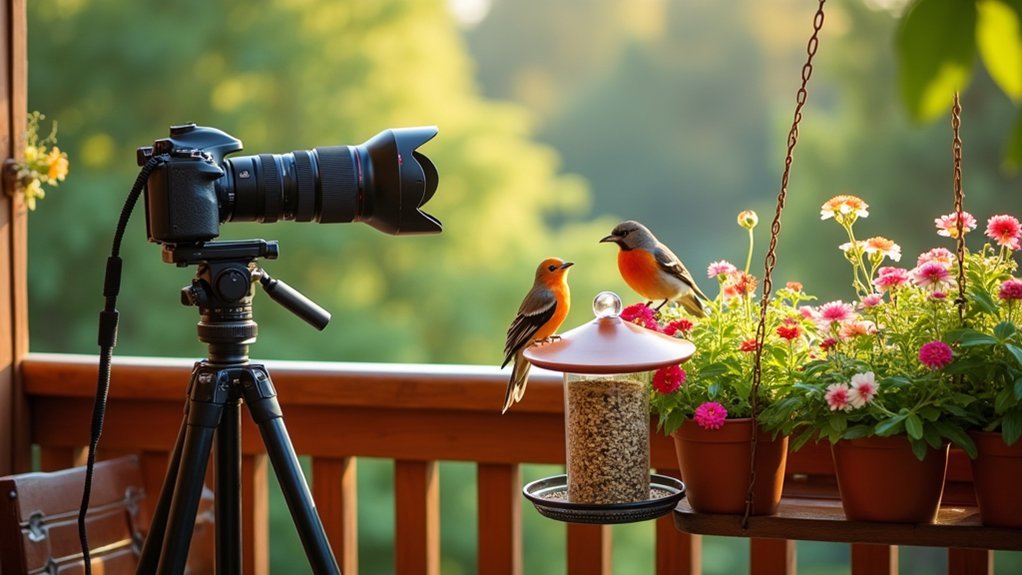
Beyond strategic perch placement, the visual background of your bird photography setup dramatically influences the quality of your images. Position your bird feeders against a thoughtfully designed natural backdrop to elevate your photos from ordinary to extraordinary.
Arrange potted plants, hanging flowers, or small shrubs behind your feeding station to create depth and context while minimizing distracting urban elements. This natural setting not only makes your photos more visually appealing but also helps birds feel more secure while feeding.
Consider incorporating small water features near your setup to attract additional species and capture dynamic bathing behaviors. A shallow birdbath or small fountain creates opportunities for unique action shots as birds interact with water.
These natural elements transform your balcony into a photography studio where background and subject work harmoniously together.
Selecting Weather-Resistant Camera Equipment for Balcony Use
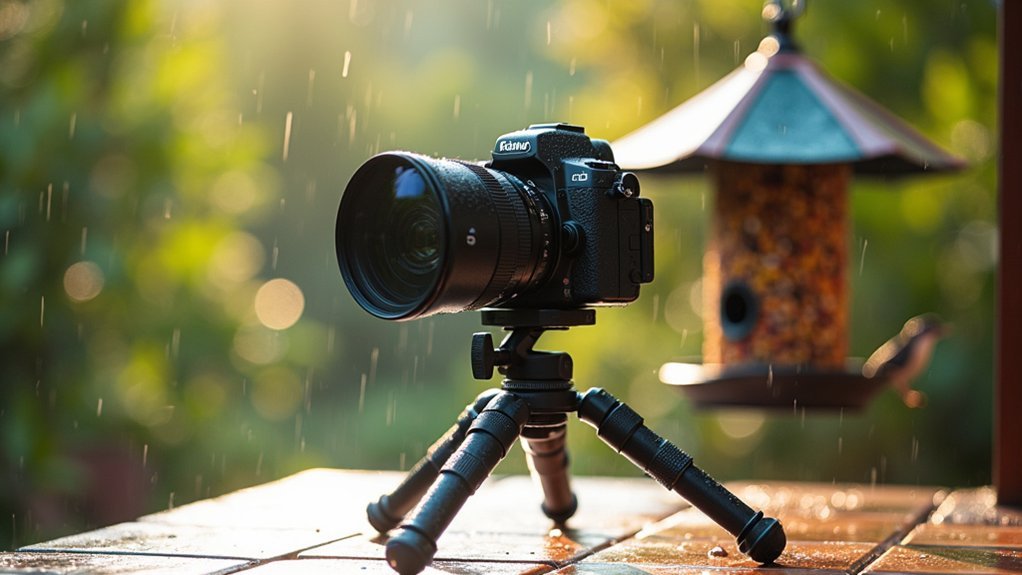
Three essential considerations make weather-resistant equipment important for successful balcony bird photography.
First, invest in a camera body with IP-rated weather sealing to protect against moisture and dust during outdoor shooting. This protection is particularly significant when your balcony is exposed to changing elements.
Second, pair your camera with weather-resistant lenses that can withstand unexpected rain or humidity. For capturing fast-moving birds, choose a camera with a rapid continuous autofocus system that maintains sharp focus despite challenging conditions.
Finally, don’t overlook stability requirements. A sturdy tripod or monopod designed for wind resistance will prevent camera shake when shooting from your balcony.
Consider adding protective filters like UV or polarizing options to enhance image quality while providing additional protection against the elements.
Managing Light and Shadows in Limited Balcony Spaces
Light management presents a unique challenge when shooting birds from a balcony, especially after you’ve secured your weather-resistant equipment.
Take advantage of the “golden hour” during early morning or late afternoon when the soft, warm light minimizes harsh shadows on your feathered subjects.
Position your camera at a slight angle to the light source to prevent lens flare and overexposure that can ruin your shots.
When shadows become problematic, use white surfaces as reflectors to bounce natural light onto birds, improving exposure without artificial lighting.
Select a shallow depth of field (f/4-f/5.6) to blur distracting shadowed backgrounds while keeping birds sharply in focus.
For maximum flexibility, create movable perches or backdrops you can reposition throughout the day to optimize light as the sun changes position.
Installing Bird-Friendly Plants as Natural Backgrounds
When selecting plants for your balcony bird photography setup, choose native flowering shrubs like grevillea that attract local birds while providing natural, textured backgrounds for your images.
Position plants at varying distances from your camera to create depth perception, placing taller plants farther back and shorter varieties closer to your shooting position.
Incorporate plants with different blooming seasons to guarantee your backgrounds change throughout the year, giving your bird photography portfolio seasonal variety and visual interest.
Best Plant Selections
Transforming your balcony into a bird photography haven starts with selecting the right plants that serve dual purposes as natural backgrounds and bird attractants.
Prioritize native plants like flowering shrubs and grasses to attract local bird species while providing natural shelter and food sources.
Incorporate nectar-rich flowers such as grevilleas and wattle to entice honeyeaters and lorikeets that will become stunning subjects for your photos.
Don’t waste vertical space—add climbing plants like jasmine that create lush backdrops while offering birds comfortable perching spots.
For greater birds and wildlife diversity, include fruit-bearing species such as berry bushes.
They’ll not only attract varied avian visitors but also add visual interest to your setup.
Balance your selection with both evergreen and deciduous plants to maintain year-round habitat diversity and photographic opportunities.
Creating Depth Perception
Successful bird photography relies heavily on creating visual depth through thoughtfully arranged natural backgrounds. As a nature photographer, you’ll find that layering plants of varying heights creates the illusion of space, even in confined balcony settings.
Position taller shrubs toward the back and shorter flowering plants in front to establish distinct planes that enhance depth perception.
Install climbing vines on trellises to add vertical dimension while providing natural perches where birds can land. This thoughtful arrangement creates wildlife-friendly zones that produce more professional-looking images.
Native flowering plants not only attract local bird species but also introduce vibrant colors that make your subjects pop against the background.
Seasonal Background Variations
Beyond creating depth, your balcony’s plant composition can offer ever-changing natural backdrops throughout the year.
Install native flowering shrubs and trees that serve as both perches and vibrant backgrounds, attracting local birds while enhancing your photography opportunities.
Incorporate seasonal plants like winterberry and viburnum that provide food sources for birds and deliver visually striking backgrounds that transform with the seasons.
Don’t overlook evergreens such as holly or juniper that offer year-round shelter, ensuring your balcony remains inviting to avian visitors regardless of season.
For maximum impact, select a diverse mix of plants with staggered blooming periods to attract various bird species throughout the year.
Consider adding a small water feature alongside your plants—the movement and sound will entice more birds, creating dynamic photography settings.
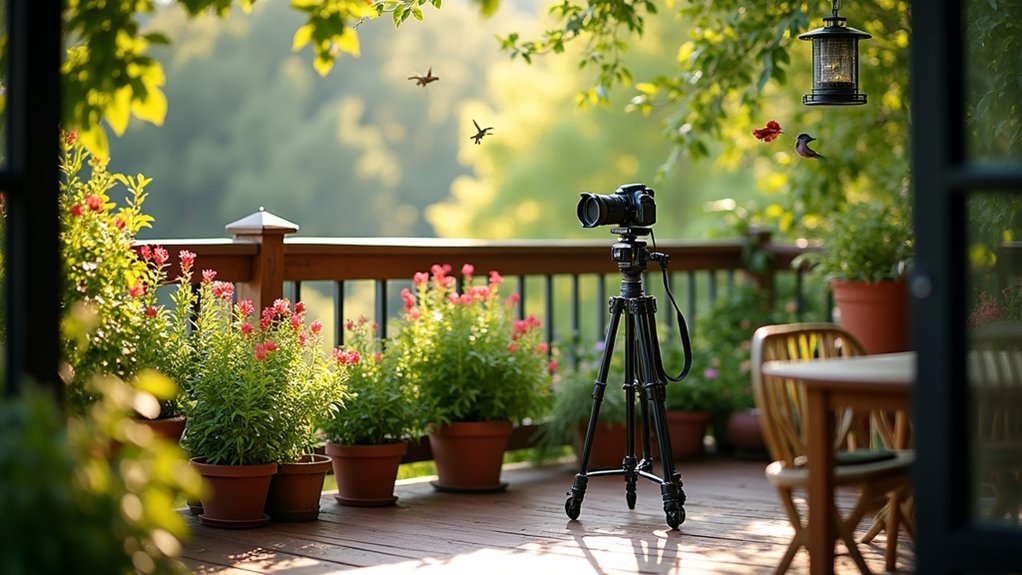
Setting Up a Comfortable and Concealed Shooting Position
Though your actual photography skills matter greatly, establishing a well-concealed and comfortable shooting position on your balcony is equally essential for capturing stunning bird photographs.
Select a corner with ideal viewing angles where you can adjust your shutter speed quickly as birds arrive, while remaining hidden.
Create a simple blind using lightweight camo fabric that conceals your movements but allows you to focus and recompose without restriction.
Position a comfortable chair close to your shooting spot to prevent fatigue during long waits between bird shots.
Set your camera on a stable tripod at eye level, directed toward feeding areas or baths.
Strategically place potted plants or feeders within frame to attract birds closer while creating natural backgrounds that enhance your compositions.
Using Window Screens and Reflections Control for Better Images
When shooting birds from behind glass, managing reflections becomes your primary challenge.
Window screens can be surprisingly helpful allies in your photography setup, as they diffuse harsh sunlight while maintaining decent image clarity. Position your camera at an angle to the glass rather than straight-on to minimize unwanted reflections.
Don’t forget to attach a lens hood to your camera—this simple accessory prevents light from entering at oblique angles and causing lens flare.
For serious reflection control, invest in polarizing filters that not only reduce glare but also enhance color saturation in your bird images.
Pay attention to lighting conditions throughout the day. The sun’s position dramatically affects reflection intensity, so experiment with different shooting times to discover when your balcony offers ideal photography conditions.
Frequently Asked Questions
What Camera Setting Is Best for Bird Photography?
For bird photography, use Aperture Priority mode with a wide aperture (f/4-f/5.6), fast shutter speed (1/500s minimum), lowest possible ISO, and back-button focus to track your subjects effectively while maintaining sharpness.
What Is the Best Beginner Camera for Bird Photography?
For beginner bird photographers, the Sony RX10 series is your best option. You’ll love its 20MP sensor and 24-600mm fixed lens. It’s easy to use while offering excellent reach for capturing distant birds.
Is 400MM Enough for Bird Photography?
400mm is sufficient for many bird situations, but you’ll likely want more reach. It’s a good start, especially with a crop sensor camera, but dedicated bird photographers often prefer 500-600mm lenses.
What Settings Should I Use for Birds in Flight Photography?
For birds in flight, you’ll need a fast shutter speed (1/2000s+), wide aperture (f/5.6 or lower), continuous autofocus, and the lowest possible ISO that maintains proper exposure. Back-button focus helps track moving subjects effectively.
In Summary
You’ve got all you need to transform your balcony into a bird photography paradise. With your feeding station, weather-ready gear, lighting solutions, natural backgrounds, concealed position, and reflection control, you’re set for stunning shots without leaving home. Remember, patience is key—the birds will come. Soon you’ll be capturing incredible images that’ll make fellow photographers wonder about your secret wildlife location.


Leave a Reply